CORN FLAKE CHICKEN
The notion of using corn flakes as breading for chicken has been around for quite awhile, and I’ve tossed the idea around here and there. I never really got a chance to act on the idea, until tonight.


Ingredients
(Makes 4 – 6 breaded chicken breasts)
~ 4 – 6 chicken breasts
~ 1 cup crushed Corn Flakes
~ 1/2 cup regular breadcrumbs
~ 1/2 cup flour
~ Salt
~ Pepper
~ Basil
~ 1 egg
You can start off by mixing up the dry coating first in a separate bowl. It helps if the bowl is flatter in nature, so that way later on you can just coat the chicken very easily. Crush up those Corn Flakes, mix that in with the breadcrumbs, and then add in the spices to your taste. Salt, pepper, and basil are three of the basic ones to give it some good flavor, but I also added some All-Seasons Salt that had some cane sugar, paprika, garlic powder, and onion powder in it. Add the spices in slowly and taste the mix as you go along, just until you find the right blend. The instant you overseason the mix, it gets tough since you have to add more breadcrumbs to balance things out, and that might end up being wasteful of your ingredients.
With your dry mix finished, start to prep the chicken breasts for coating. The chicken breasts that we had were a little bit thicker, so what we did was to cut them in half horizontally to drastically reduce their thickness. You don’t need to pound them out or anything after that, since they were already around the 1/2″ range. Crack that egg open into another bowl, whisk it up a bit, and set that aside.
We’ll now set up our breading stations for the chicken: flour, egg, and breadcrumb mixture. Go ahead and coat the outside of the chicken with a layer of flour, and then dipping it into the egg afterwards. Transfer the chicken from the egg over into the breadcrumb mixture and get it nice and coated before putting it onto a plate for chicken pieces ready to be cooked. Repeat this process until you have them all finished; get the breadcrumbs nice and coated on there, turning it over a few times and patting down the extra mix onto the surface of the chicken to help it stick.
When the chicken is coated, things are ready to go onto the stove. Like I’ve outlined before in my chicken nugget post about pan-frying techniques, put down a thin layer of oil on the bottom of the pan, and heat it up on high. Within maybe about 30 seconds (depending on the thickness of the pan), the oil should be hot enough to fry. Throw a bit of the dry mixture into the pan to see if it starts to sizzle; if it does, you’re ready to go. Within 5 – 10 seconds of putting the chicken into the pan, I would recommend turning down the flame to around medium-high, just to keep the chicken from burning.
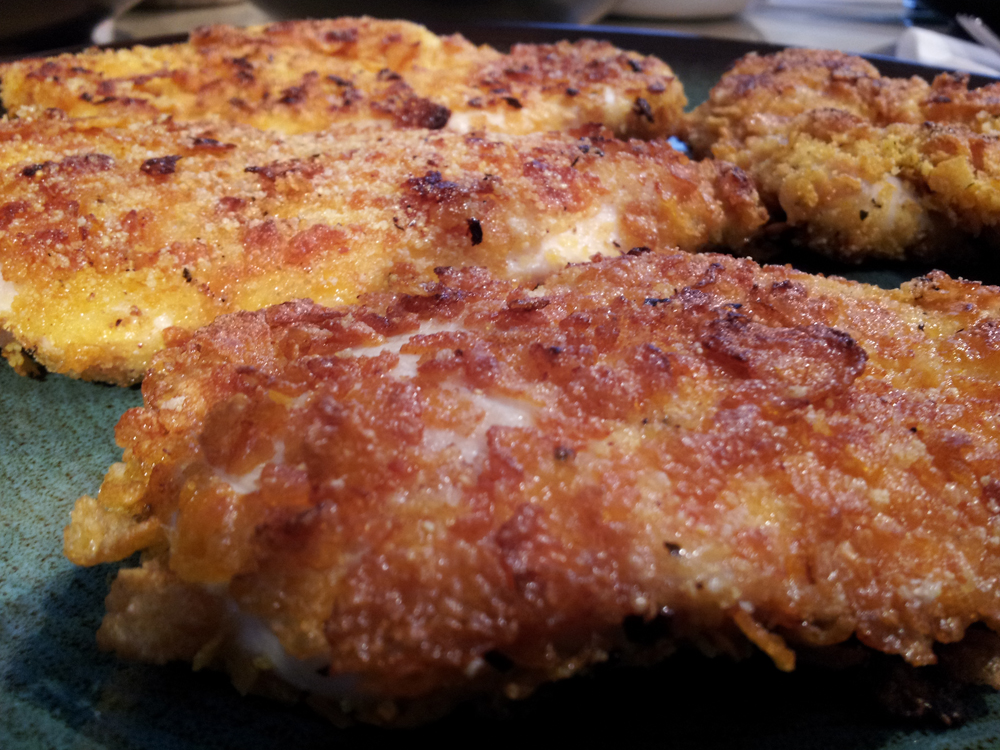
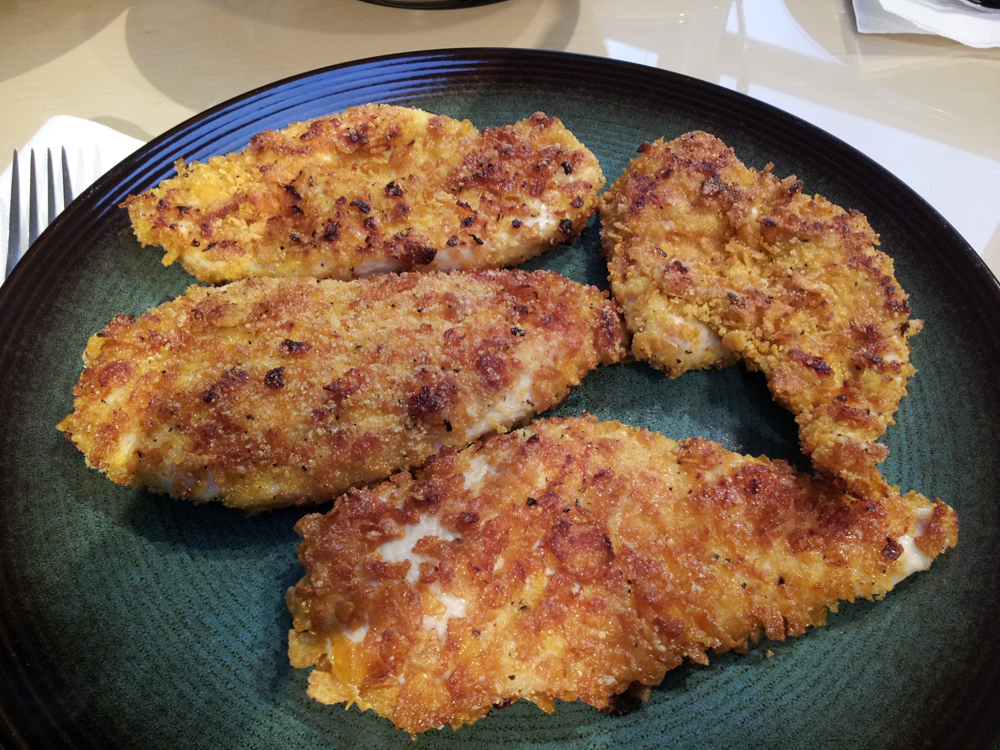
The initial oil will “flash fry” the outer coating, making it really crispy, but you still need to make sure that the chicken isn’t raw when you finish. Just keep on adjusting the temperature and visually checking the chicken to see how golden-brown the sides are getting. I think when I cooked the pieces tonight, they were roughly about 3 – 4 minutes per side, with the time to flip kind of tailing off at the end. Hopefully, when it comes time to plate, you’ll have a nice golden-brown piece of chicken that’s moist, full of flavor, and packs a nice crunch on the outside as well.
Categories: Recipes
